
Dairy-Free Hazelnut Spread
Indulge in creamy, chocolatey perfection with this homemade Vegan Nutella! Made with roasted hazelnuts, cocoa powder, and dairy-free chocolate, it’s the perfect spread for toast, fruit, and more.
Servings 16 servings
Calories 129kcal
Ingredients
- 2 cups raw hazelnut
- 2-4 tablespoons cocoa powder (begin with 2 T and add more if you desire more chocolate flavor)
- ½ cup semi-sweet chocolate chips
- 1 teaspoon vanilla extract
- ¼ teaspoon salt
Instructions
Prepare Hazelnuts:
- Preheat the oven to 350°F/175°C. Line a baking sheet with parchment paper.
- Fill a pot half-way full of water and bring it to a boil. Add 3 tablespoons of baking soda. Let that fizz and dissipate and then add the hazelnuts. Boil the nuts for 3-4 minutes.
- Pour finished nuts in a colander and rinse in cold water. When they're cool enough to handle, pinch them between your fingers to remove the skins.
- Allow the hazelnuts to cool, then rub them in a clean kitchen towel to remove as much of the skin as possible.
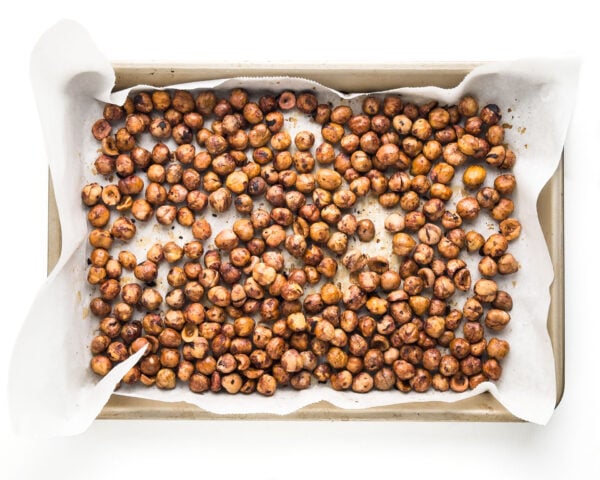
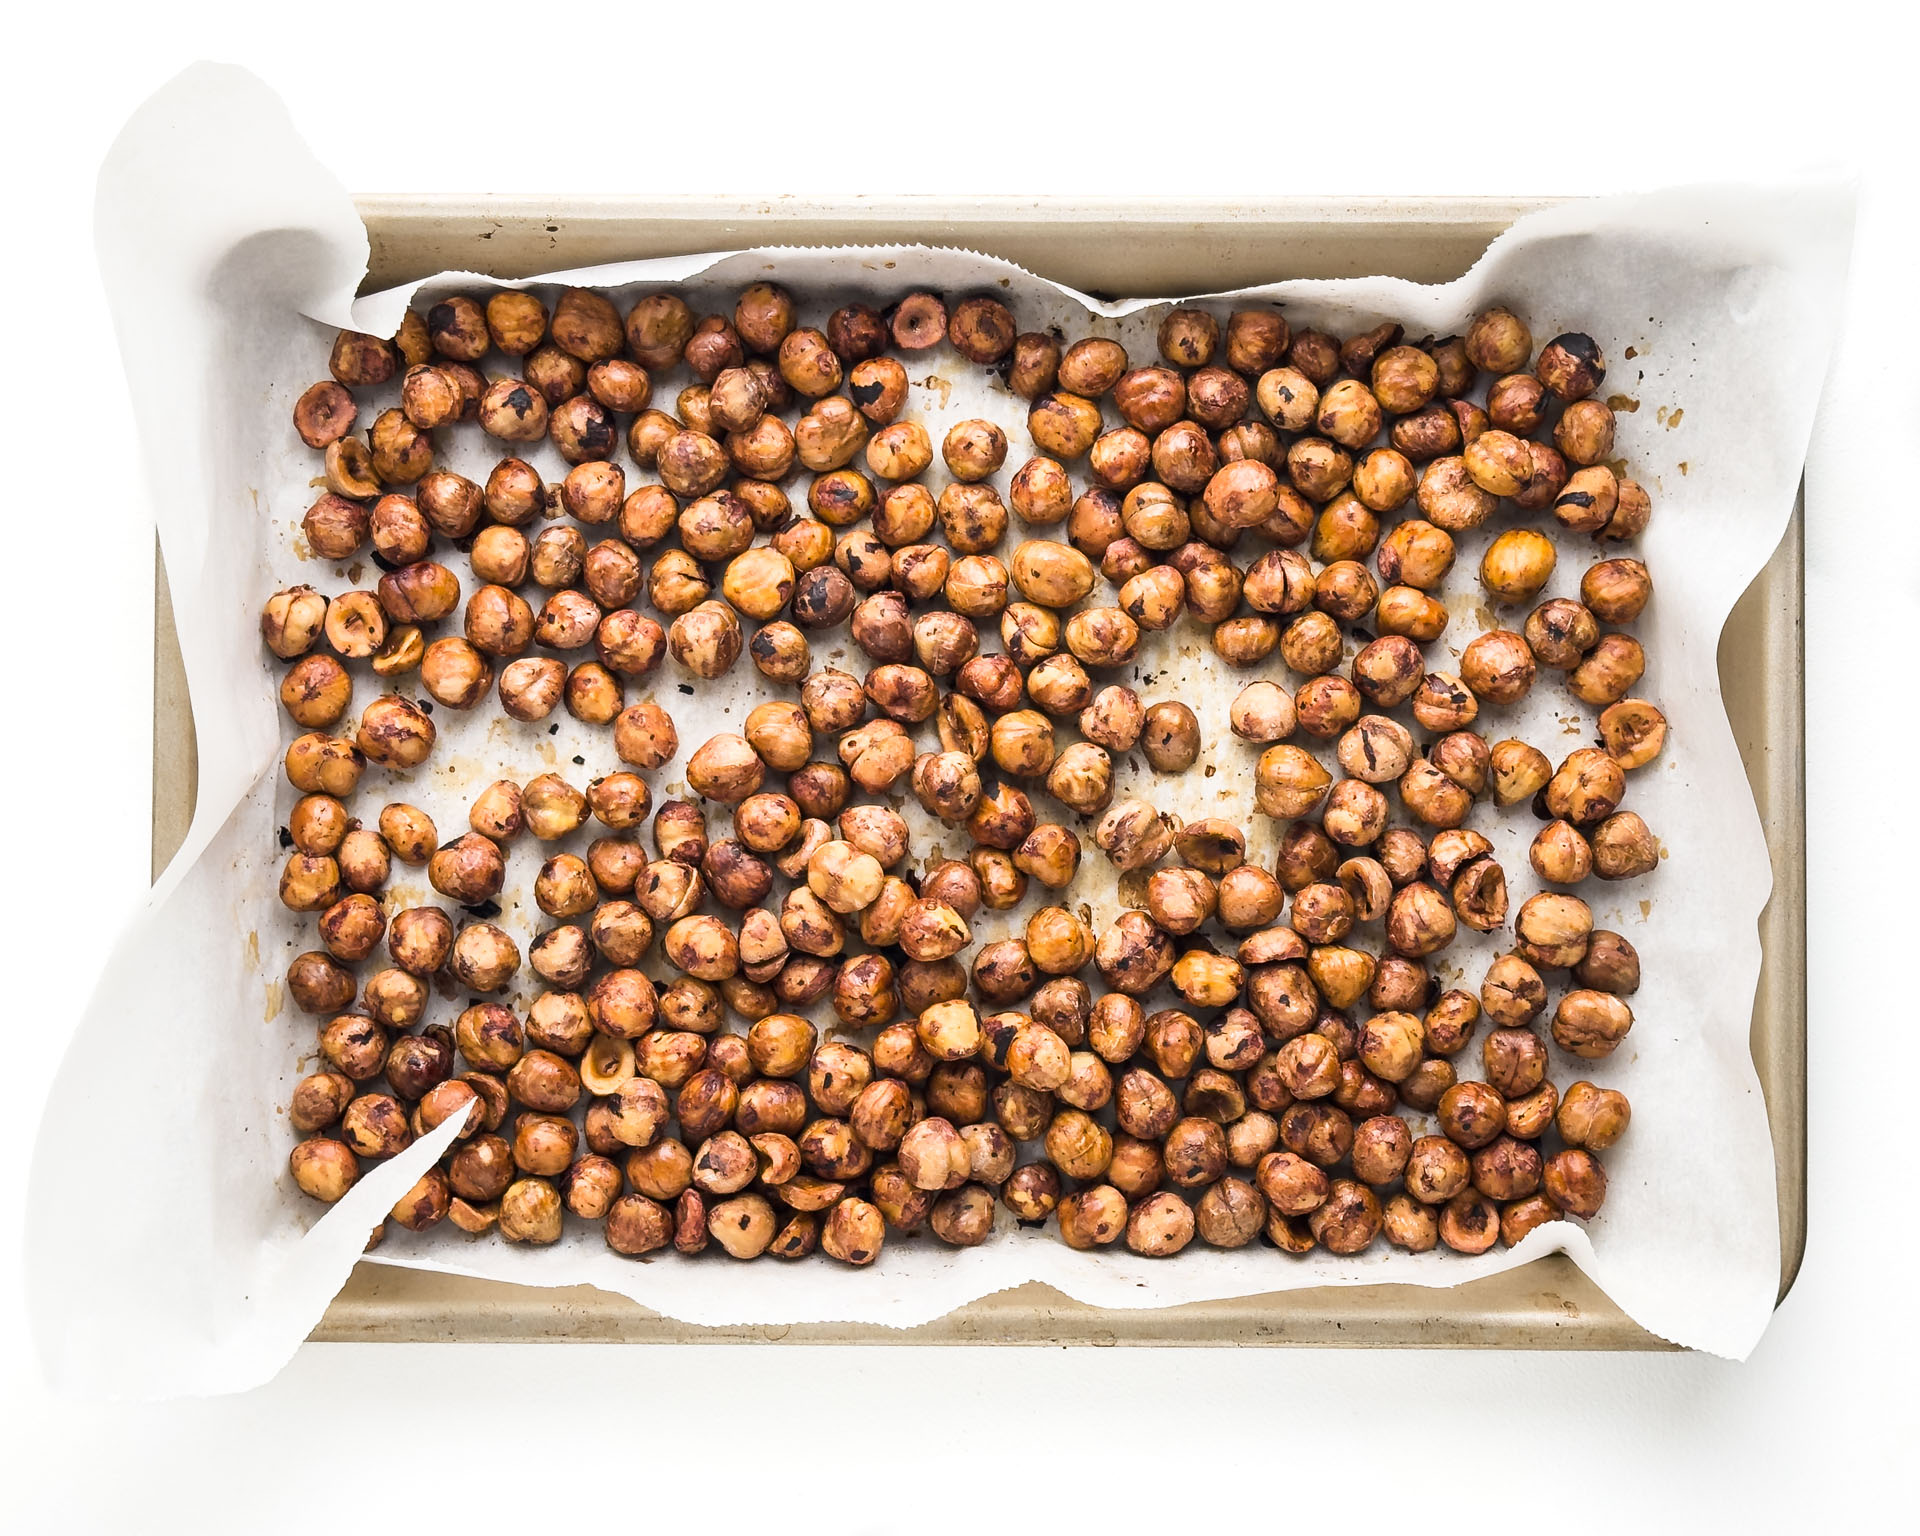
- Dry the hazelnuts with a kitchen towel. Add them to the prepared pan. Spread the hazelnuts evenly on a baking sheet and roast them for about 15–25 minutes, stirring every 5 minutes or so. The nuts will become fragrant and slightly golden. Allow them to cool. Test one to make sure it's crunchy all the way through. If not, return them to the oven for another 5 minutes.
Blend Hazelnuts:
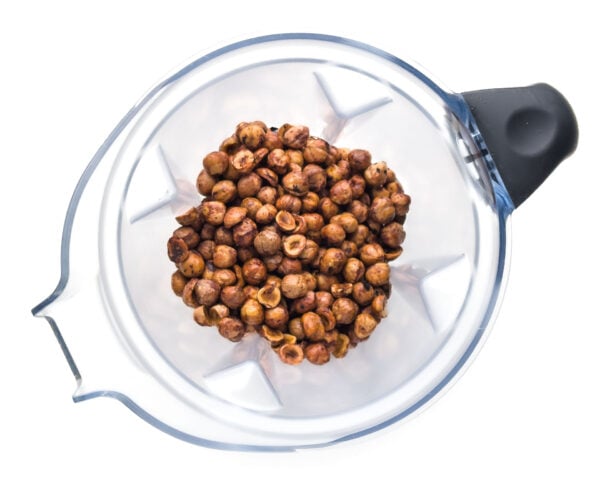
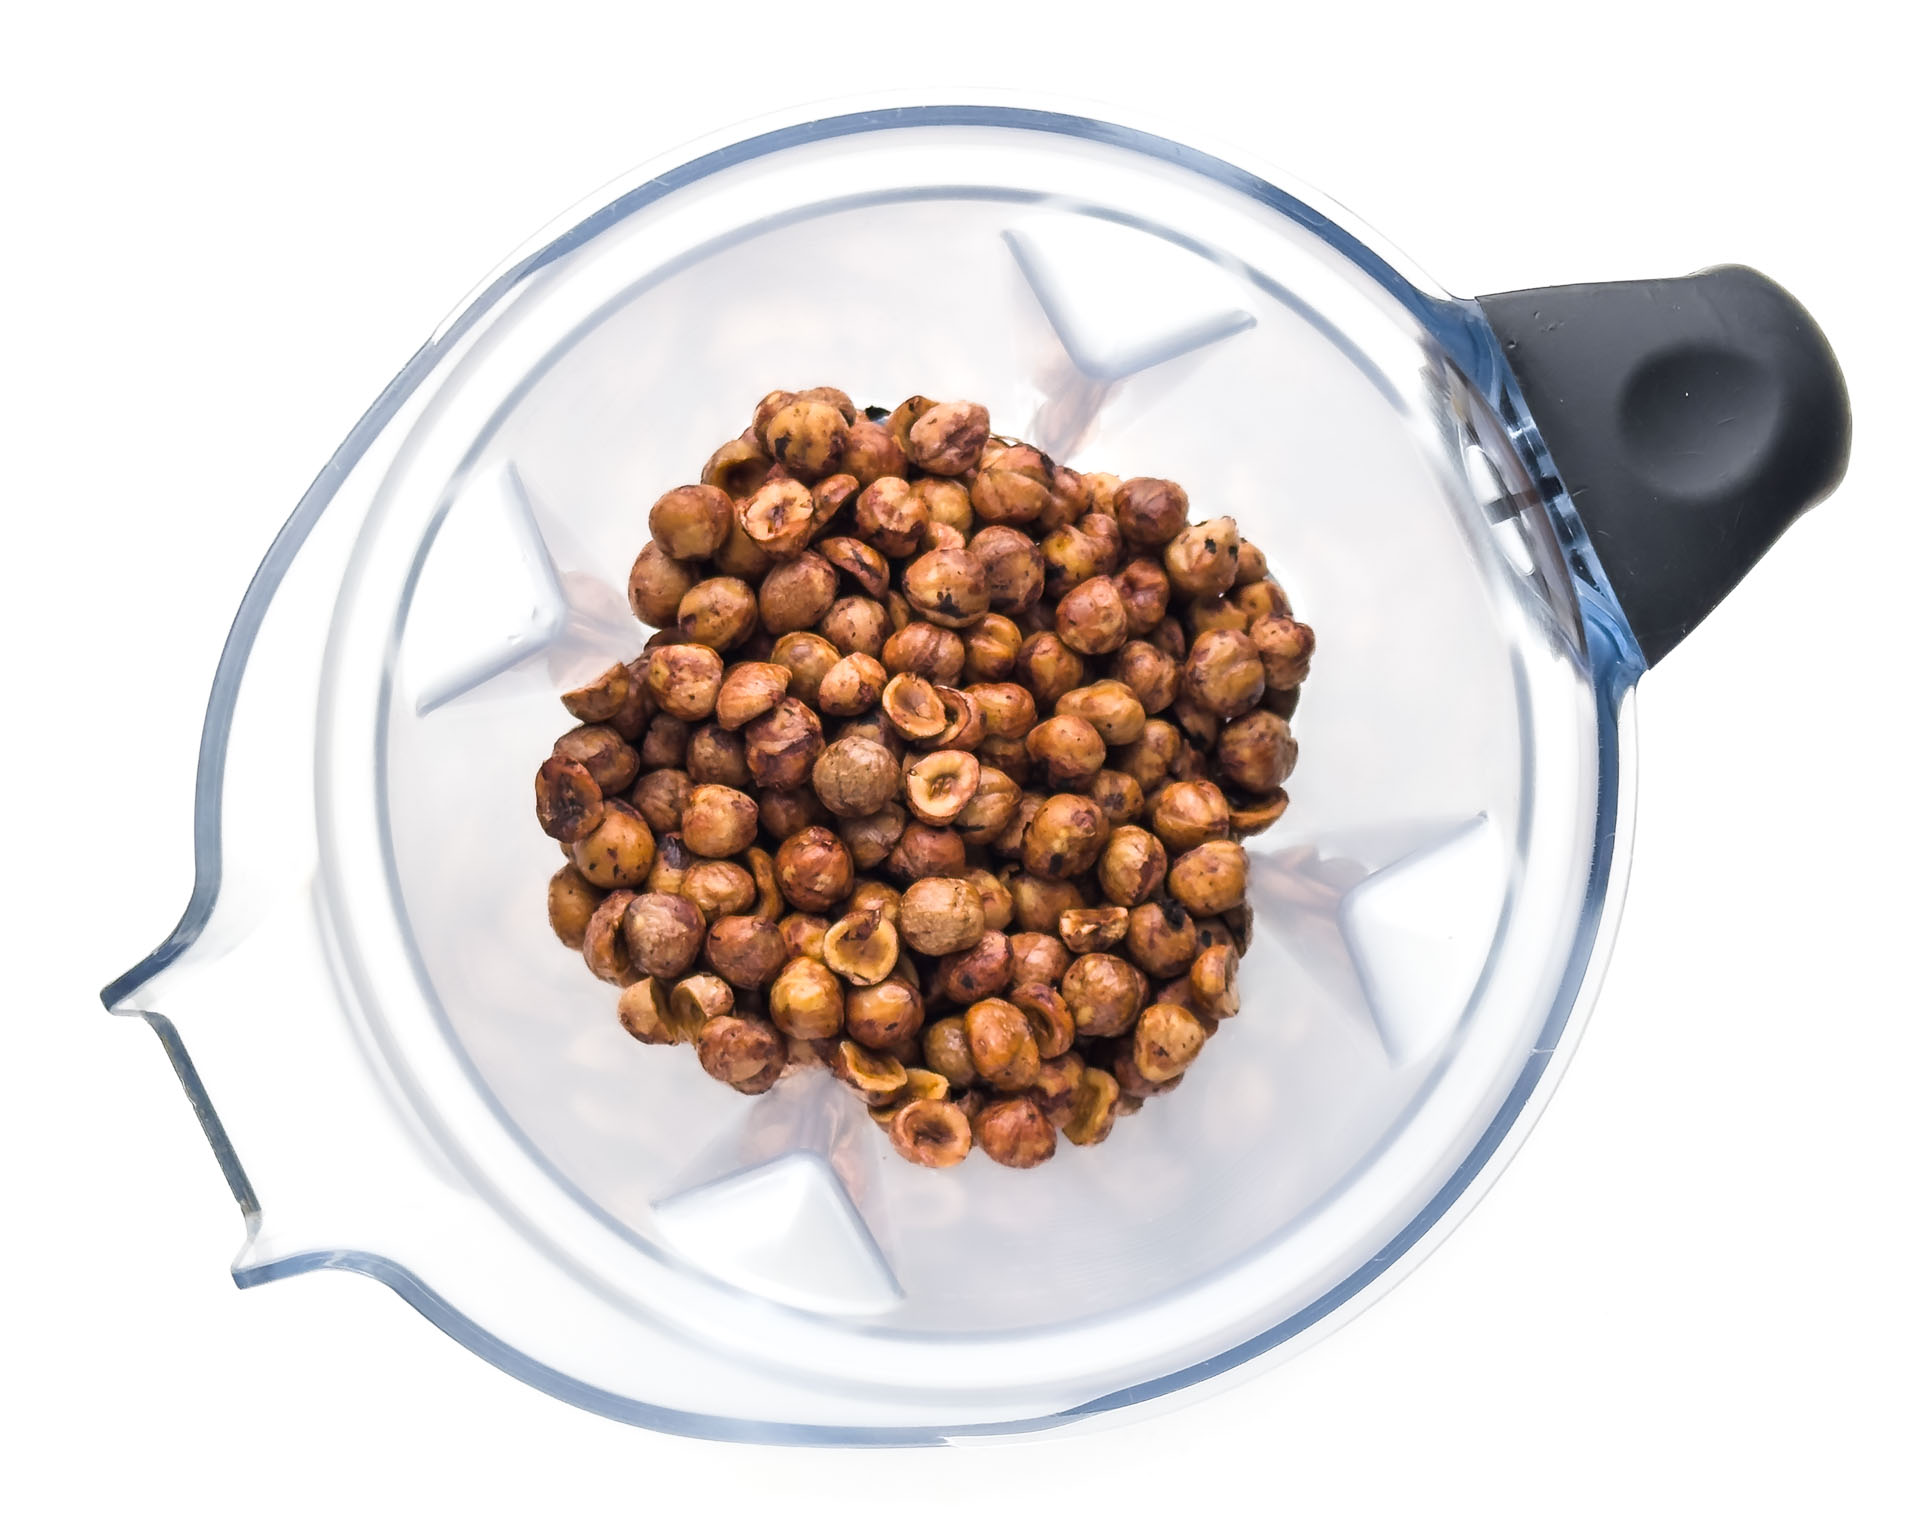
- Place the roasted hazelnuts in a high-speed blender or food processor. Blend until creamy, scraping down the sides as needed. This may take about 5–10 minutes.
Add Cocoa and Melted Chocolate:
- Once the hazelnuts are smooth and creamy, add the cocoa powder, melted chocolate, vanilla, and salt to the hazelnut butter and blend again until fully combined and smooth.
- Blend again until all ingredients are well incorporated and the spread is smooth. If the mixture is too thick, add a tablespoon of coconut oil or a bit of plant-based milk until you reach your desired consistency.
Taste and Adjust:
- Taste the spread and adjust sweetness or cocoa if needed. You can add maple syrup or a touch more salt to enhance the flavors.
Store and Enjoy:
- Transfer the hazelnut spread to a clean glass jar and store it in the fridge for up to 2 weeks.
- Serve on toast, as a dip for fruit, or as a topping for oatmeal!
Notes
- Blending Tips: This recipe is designed with a high-speed blender in mind, which makes achieving a smooth texture easier and faster. If using a food processor, expect to blend a bit longer. Pause periodically to scrape down the sides, and allow the machine to cool if it begins to heat up.
- Adjusting Sweetness: If you prefer a sweeter spread, add an extra tablespoon or two of melted chocolate chips or even a drizzle of maple syrup. Just be cautious with added liquid sweeteners, as they can affect the spread's consistency.
- Storage: Store your hazelnut spread in an airtight container in the fridge for up to 2 weeks. The spread may firm up when chilled, so let it sit at room temperature for a few minutes to soften before serving.
- Serving Suggestions: This spread is perfect on toast, as a dip for fruit, swirled into oatmeal, or even used as a filling for vegan crepes or pancakes. It’s also delicious in smoothies for a nutty chocolate boost!
More Blending Tips
- Scrape Frequently: Pause the blender every minute or so to scrape down the sides and push the hazelnuts back toward the blade. This prevents clumps and helps everything blend evenly.
- Use a Tamper (if your blender has one): Some high-speed blenders come with a tamper tool that can help push the nuts down toward the blades without needing to stop as often.
- Patience Through the Stages: Hazelnuts will first turn into a powder, then into a dry, thick paste, and finally, a creamy nut butter. If you keep blending, the natural oils will release, and it will become smooth and spreadable.
- Add Oil (Optional): If the mixture isn’t reaching the creamy stage, add 1–2 teaspoons of neutral oil (like refined coocnut oil) to help things along. This can help if your blender is struggling or if the hazelnuts seem particularly dry.
Nutrition
Serving: 1tbsp | Calories: 129kcal | Carbohydrates: 6g | Protein: 3g | Fat: 11g | Saturated Fat: 2g | Polyunsaturated Fat: 1g | Monounsaturated Fat: 8g | Trans Fat: 0.004g | Cholesterol: 0.3mg | Sodium: 37mg | Potassium: 144mg | Fiber: 2g | Sugar: 3g | Vitamin A: 6IU | Vitamin C: 1mg | Calcium: 21mg | Iron: 1mg
